Users & roles
Overview
This section of the application is dedicated to managing users, their associations with specific facilities and departments, and the configuration of roles and their relative permissions.
1.1 Users
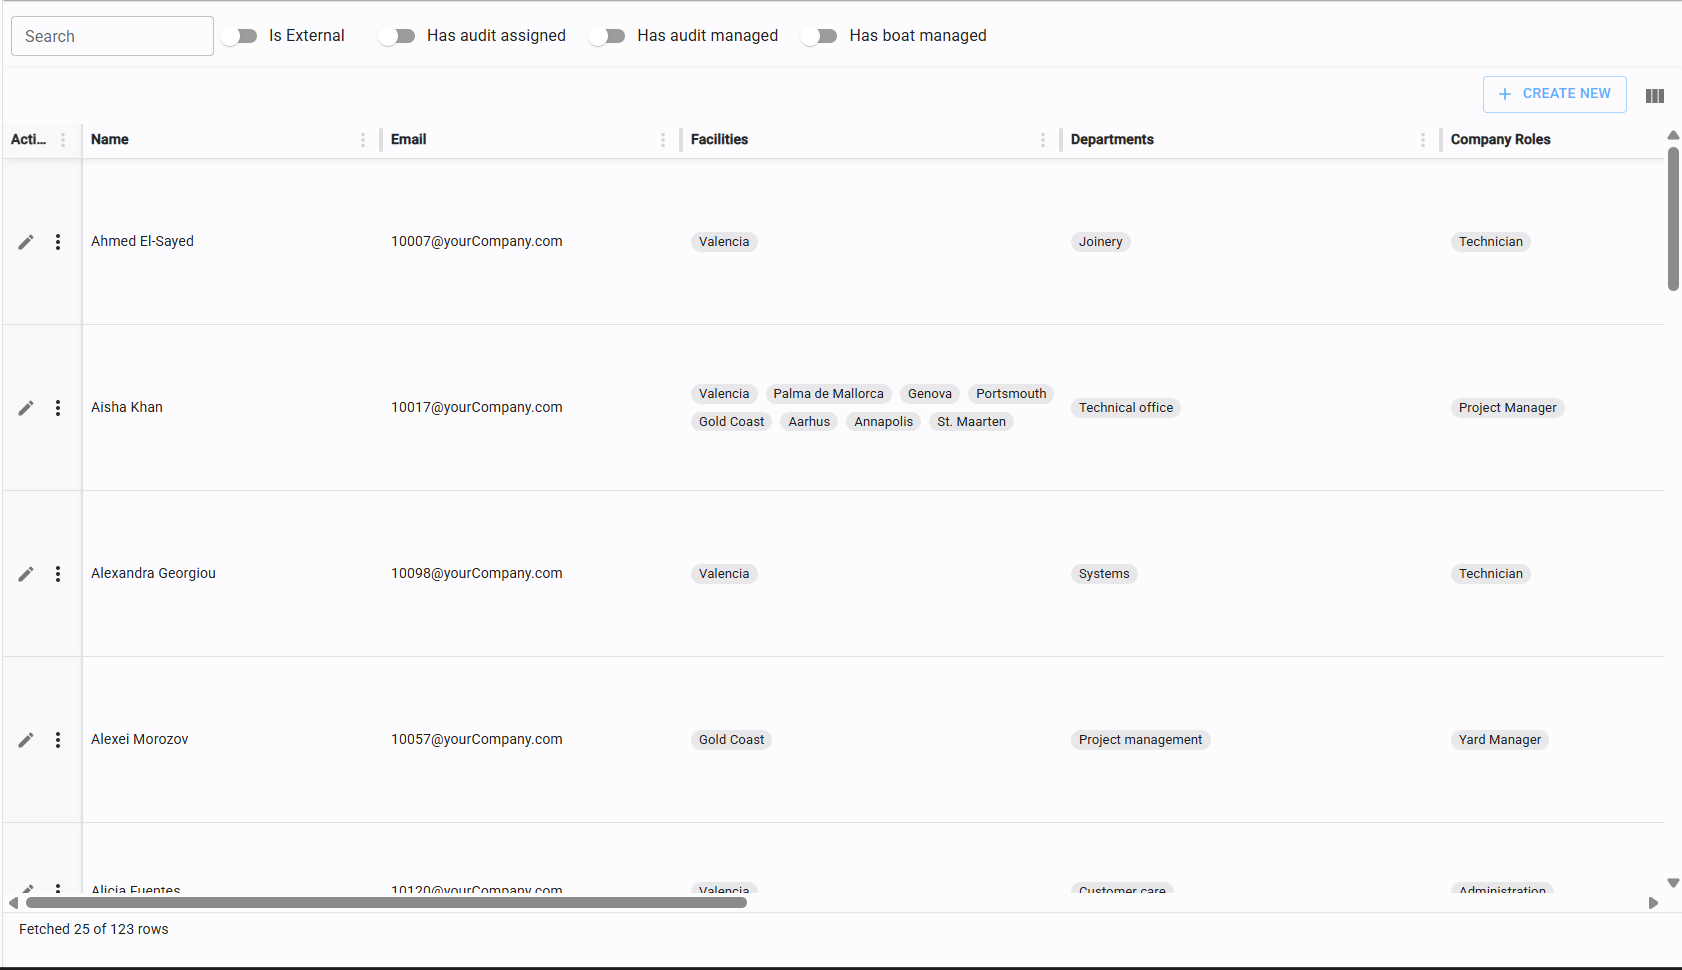
The Users page provides a comprehensive overview of all platform members. From this view, you can create new users or access the edit and deletion functions for existing accounts.
1.1.1 Create/edit new user
To create a new user, click the create button located on the right side of the table toolbar.

The user creation form will appear. To save the profile, the following mandatory fields must be completed:
- Full Name The name displayed within the app.
- Email The user's primary contact and login email
Other fields are optional but essential for full operational functionality (refer to sections 1.1.2 through 1.1.4).
Once the form is completed, you have 2 options to save the record:
- Simply save, like any other record
- Save and send invitation to the user to initiate the onboarding process
The second option will trigger an automated email to complete their registration, set a password, and confirm their account. The first option is used in case you just want to create the user and plan to send the invitation later on, which can be done from the table view.
1.1.2 Assign company roles to users
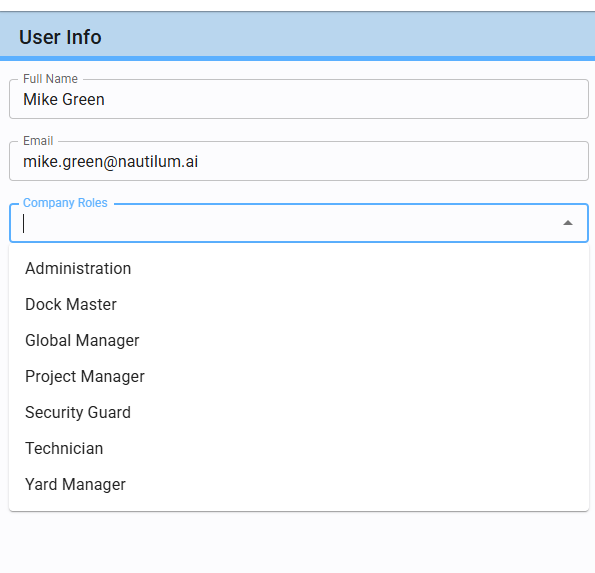
Within the creation/editing form, you can assign one or more Company Roles to a user.
Company Roles determine the user's scope of action: what they can view, create, modify, or delete across the app.
Note: A user without at least one assigned Company Role will have no access to application features.
For details on defining these roles, please refer to section 1.2.
1.1.3 Assign facilities to a users
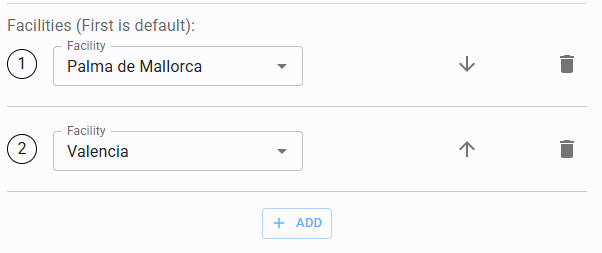
You may assign a user to one or multiple Facilities. The first facility in the list is set as the default (or primary). You can reorder the list using the arrows to change the default priority.
1.1.4 Assign departments to a user
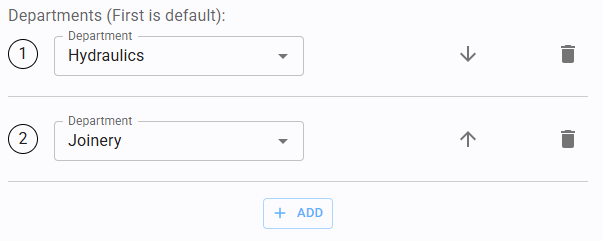
Users can be assigned to one or more Departments. The first department in the list acts as the user's primary/default department. Use the arrows to reorder this list as needed.
1.1.5 Actions on user
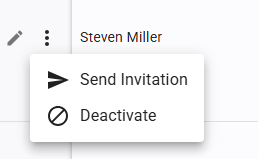
In the main Users table, you can perform specific actions via the Action column (located on the far right). Click the three vertical dots to open the menu:
-
Send an invitation Dispatches the onboarding email. This function is disabled once the user has confirmed their account.
-
Deactive a useer Instantly revokes the user's operational status and login credentials.
1.2 Company roles
Company Roles allow you to mirror your corporate structure within the platform. These roles are fully customizable based on your specific organizational needs.
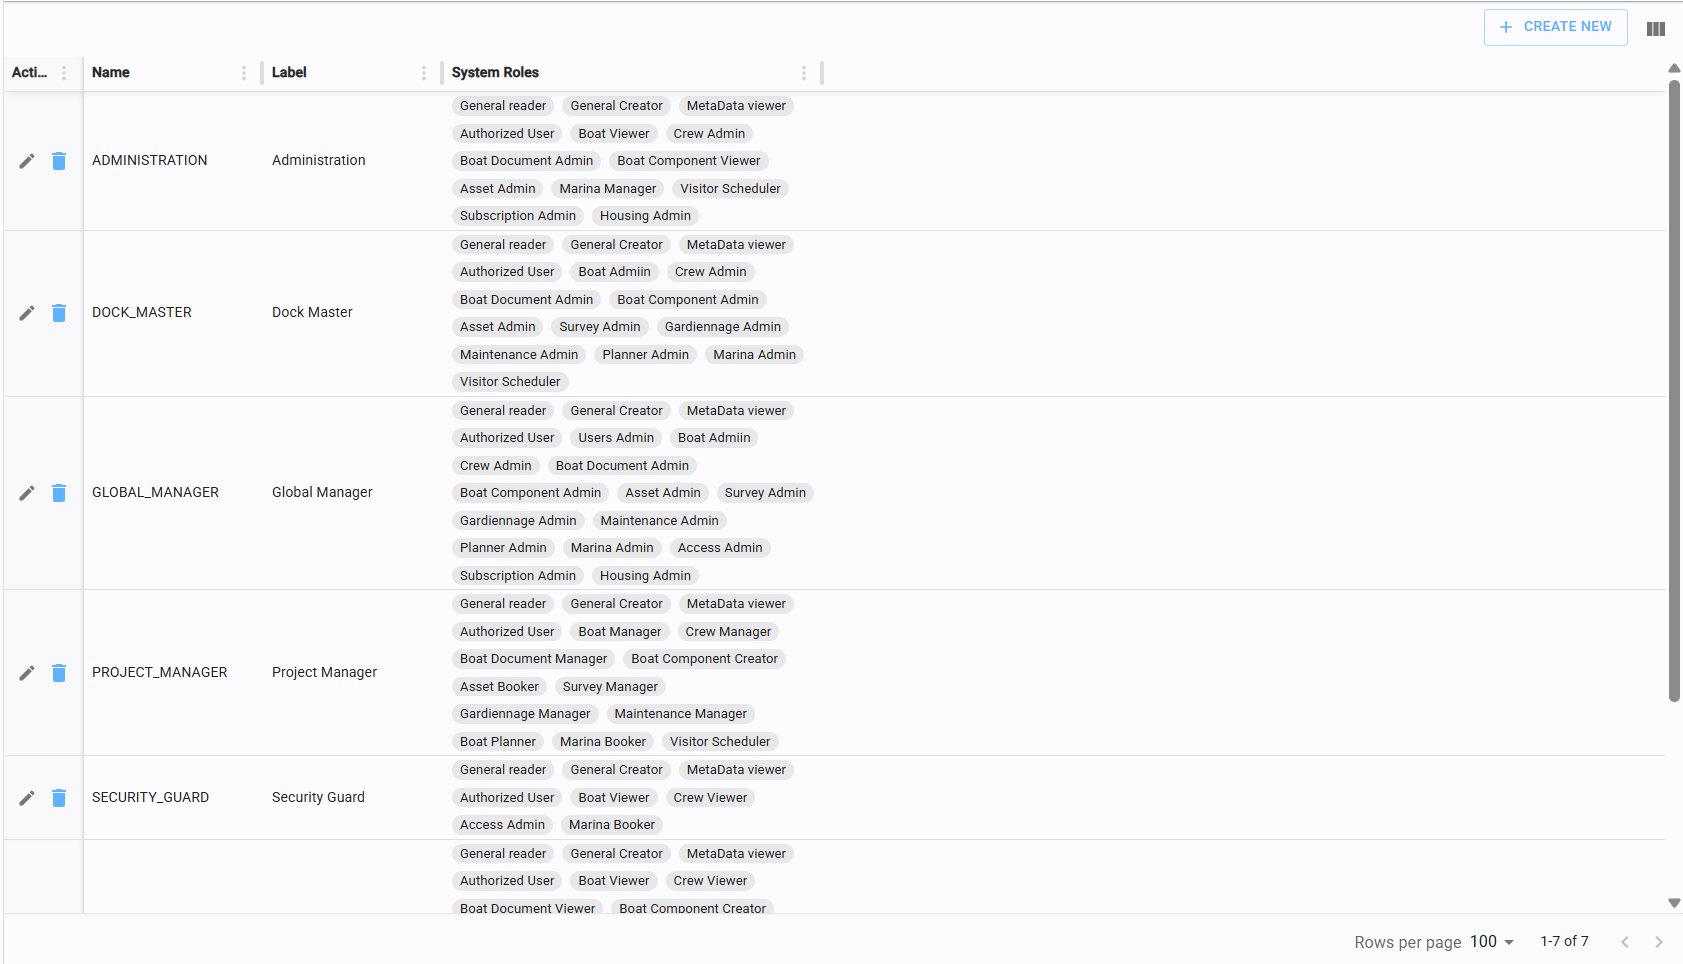
Each Company Role is built by grouping System Roles. A System role represents a predefined set of permissions that is coupled with some system functionality, for example a "Boat Admin" system role grants full rights over the Yacht section.
1.2.1 Create/edit/delete company roles
Click the "Create New" button in the Company Roles table to navigate to the form.
Name: Must follow the naming convention: SCREAMING_SNAKE_CASE (starts with A-Z, uppercase letters only, digits allowed, single underscores between words. E.g., TEST_ROLE).
Label: The display name as it appears in the UI (E.g., "Test Role").
Select the specific system permissions (see 1.2.2) you wish to bundle into this Company Role.
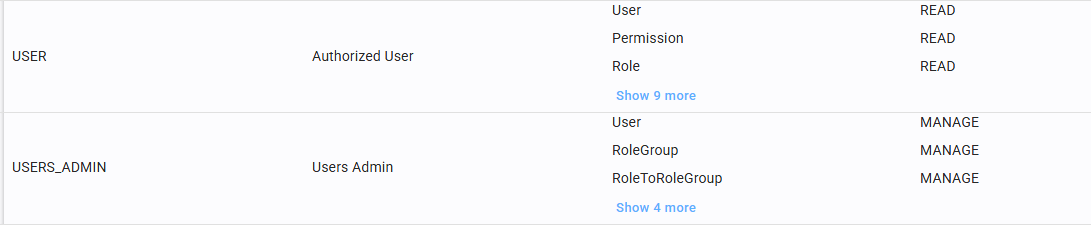
1.2.2 System roles
System Roles are immutable and define the specific permissions sets for each section of the app.
Different levels of authorization are available to match user responsibilities:
Example: The Users & Roles section distinguishes between "Authorized Users" (Viewers) and "Users Admin" (Full management permissions).